Why Proper Surface Preparation is Important Before Tiling
For homeowners across Derbyshire, the decision to tile a kitchen, bathroom, or living area represents an investment in style, durability, and the value of their property. You spend countless hours choosing the perfect ceramic, porcelain, or natural stone tile, selecting the ideal layout, and picturing the flawless final result.
Yet, as expert tilers, we know a secret that often escapes enthusiastic DIYers: the beauty of your finished tilework is directly proportional to the quality of the surface preparation underneath.
At Derbyshire Tiling Specialists, we operate by the "90% Rule": Tiling is 10% laying the tiles and 90% professional preparation of the surface, or substrate. If the preparation is compromised, every single tile is destined for eventual failure—no matter how expensive or aesthetically pleasing it is.
We are often called to homes in Derby and the surrounding areas to fix failures caused by cutting corners on the foundation. These repairs are costly, disruptive, and entirely avoidable. This comprehensive guide will delve deep into the technical necessity of professional surface preparation, outlining why it is the most critical investment you will make in the longevity and beauty of your new tiled area.
The Core Consequences of Compromised Preparation: When Tiling Fails
The problems arising from poor substrate preparation manifest in predictable, expensive, and unsightly ways. Understanding these failures highlights why the seemingly tedious work of levelling and sealing is paramount.
1. Cracking, Fractures, and Grout Failure
The most common failure we observe is cracking. This often occurs months or even years after installation, and it’s rarely the tile or grout’s fault.
Tiles are rigid and brittle. They are designed to sit on a rigid, completely stable base. When a substrate is uneven, small voids are created beneath the tile. When weight is applied (a fridge, a washing machine, or even foot traffic), the tile flexes into that void, causing stress that leads to cracks in the tile body or the grout lines.
Furthermore, excessive movement in the substrate (such as poorly secured wooden floors) translates directly to tension in the grout lines, causing the grout to shatter and crumble. This exposes the subfloor to moisture, rapidly accelerating the failure rate. We use precise floor levelling and anti-fracture techniques to eliminate these risks.
2. Delamination (Tiles Lifting and Becoming Loose)
Delamination is the catastrophic failure where tiles detach from the wall or floor. This happens when the adhesive cannot bond properly to the substrate.
As discussed in our initial analysis, porous materials like plaster or raw concrete can wick the moisture out of the tile adhesive before it has time to cure, resulting in a weak, chalky bond. This is why priming—a specialist preparation step that regulates the absorption of the substrate—is crucial.
Alternatively, if a wall has been painted with glossy or oil-based paint, the adhesive has nothing porous to grip onto. Without proper mechanical preparation (scarifying, sanding, or chemical keying), the tiles will simply pop off the surface over time, especially in high-traffic or humid areas. The effort required for Tile Removal & Preparation in a failed installation far outweighs the time spent prepping correctly the first time.
3. Mould, Health Hazards, and Structural Damage
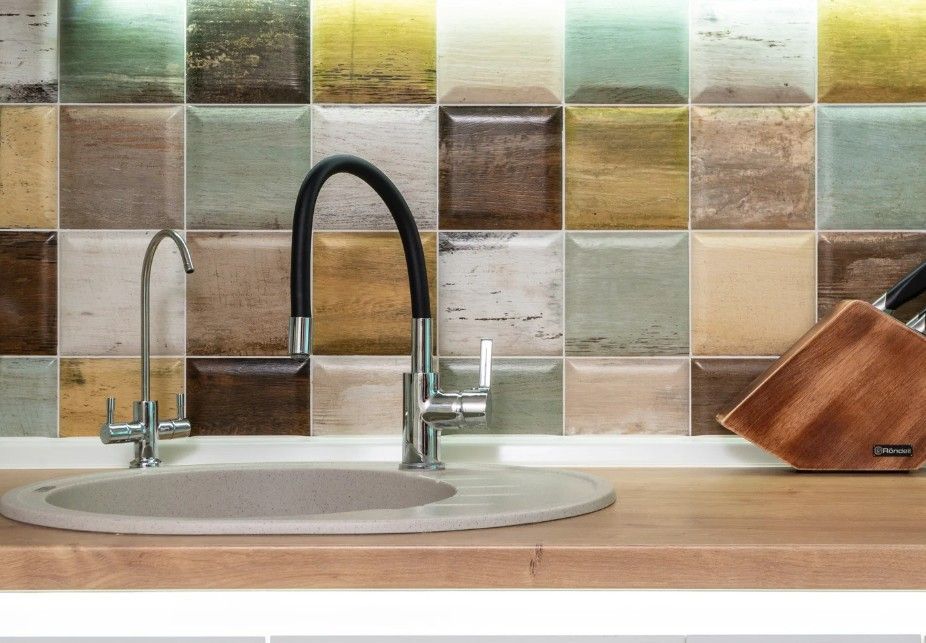
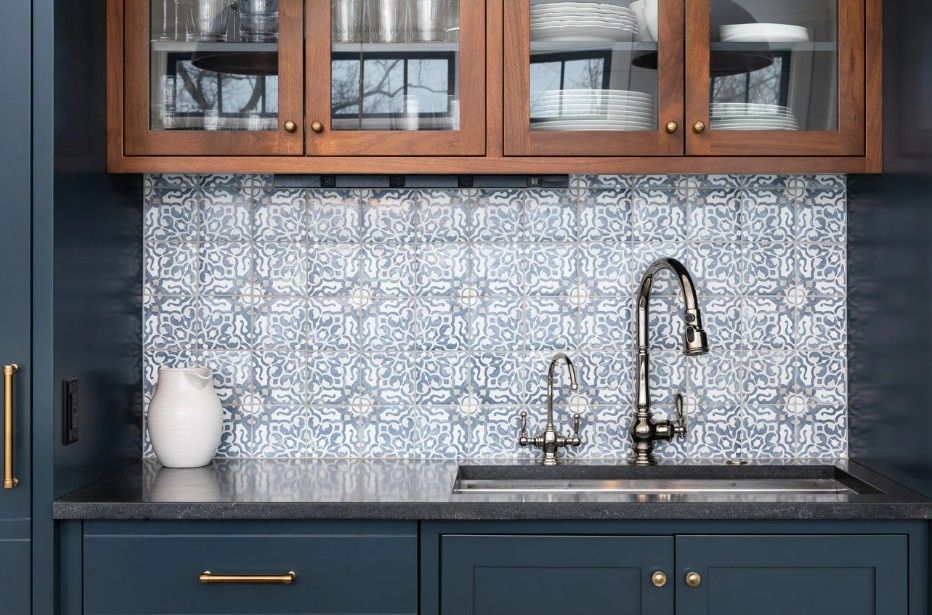
In wet areas like showers, utility rooms, and high-splash zones in the Kitchen Tiling, the preparation transforms from ensuring aesthetic quality to safeguarding your home’s structure and your family’s health.
If a waterproof membrane (tanking) is omitted in a shower recess, any water that penetrates the grout lines—and they will be penetrated over time—will saturate the underlying plasterboard or timber frame. This leads to:
- Mould and Mildew: Breeding inside the wall cavity, invisible but impacting air quality.
- Structural Rot: Timbers in the floor and wall frames absorb moisture and begin to rot, requiring extensive, expensive carpentry and Remodeling work to fix.
- Water Migration: Water tracking along joists or studs and damaging rooms below or adjacent to the tiled area.
This is why, particularly for Bathroom Tiling and wet rooms, professional moisture mitigation is the single most important safety step.
Substrate-Specific Preparation: A Tiler’s Technical Checklist
A true specialist knows that preparation is not a one-size-fits-all process. Every substrate presents unique challenges that require specific technical solutions. Our expertise allows us to correctly diagnose the requirements of your specific surface, whether you’re in a modern estate or a charming older property around Belper or Ilkeston.
1. Concrete and Screeds: Dealing with Moisture and Curing Time
Concrete floors are incredibly common but pose two major risks: moisture content and residual movement.
- Curing Time: New concrete or sand/cement screeds must be allowed to fully cure before tiling—often 28 days for concrete, or even longer for screeds (up to 7 days per 25mm of depth). Tiling too soon traps moisture, leading to adhesive failure and future tile delamination. Professionals use a digital moisture meter to verify the substrate is dry enough.
- Damp Proof Membranes (DPMs): Ground floor slabs, especially in older Derbyshire homes, must have a functional DPM. If a DPM is missing or compromised, we must apply a surface-level liquid DPM to prevent moisture vapour from rising through the slab, compromising the adhesive and potentially creating a white, powdery residue (efflorescence) beneath the tile.
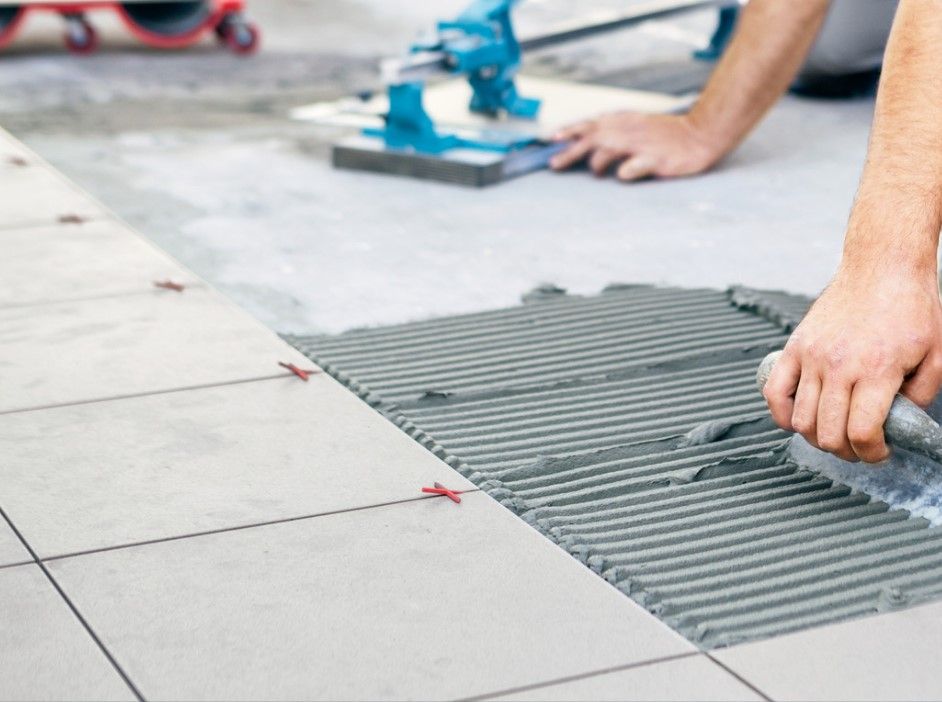
- Laitance Removal: New concrete surfaces often have a weak, dusty layer on top called laitance. This must be mechanically removed (abraded or ground) before priming to ensure the adhesive bonds to the structural concrete, not just the dust.
2. Timber Floors and Plywood: Managing Movement and Deflection
Tiling over timber floors is arguably the most challenging task, as wood naturally expands, contracts, and flexes (deflection). Standard chipboard or floorboards are simply not stable enough for rigid tiles.
- Reinforcement: We always ensure the wooden subfloor has minimal deflection. This often means screwing down the existing floorboards every 150mm and then fixing a specialist marine-grade plywood or, ideally, tile backer board on top.
- Backer Boards: Cement-based backer boards are superior to plywood because they are completely dimensionally stable and impervious to water, making them ideal for the Floor Tiling in moisture-prone areas like utility rooms.
- Decoupling: In scenarios where slight movement is unavoidable (e.g., floors spanning different rooms), we use a decoupling membrane (a specialist flexible sheet). This membrane absorbs the lateral movement of the subfloor, "decoupling" it from the tile, preventing stress transfer and resulting in cracks. This is a highly technical solution unavailable to the average DIYer.
3. Plaster and Plasterboard: Ensuring Stability and Suction Control
Wall tiling requires careful consideration of the load-bearing capacity and suction of the substrate.
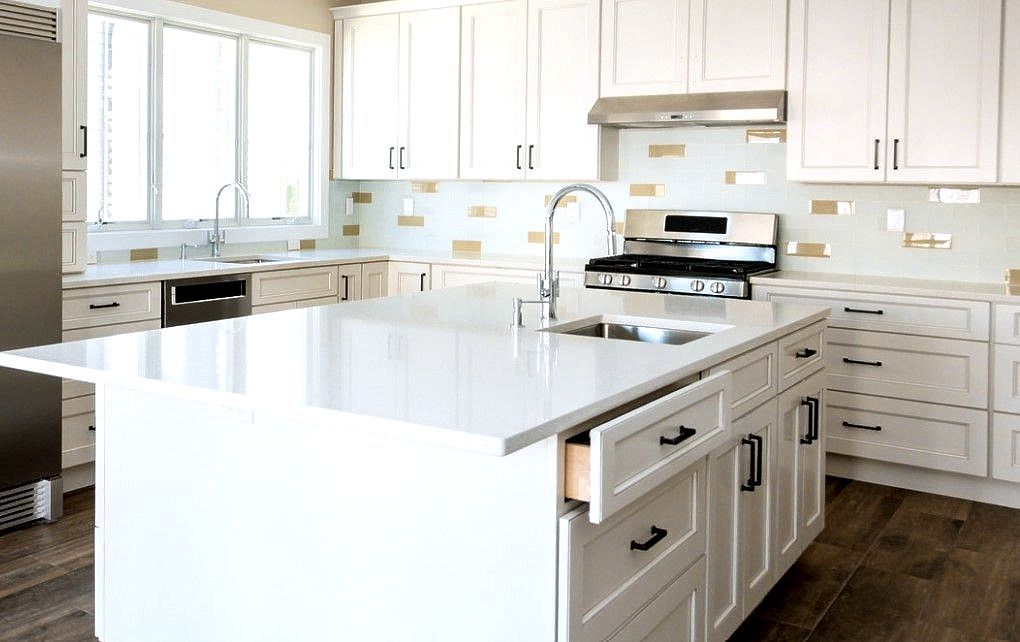
- Weight Limits: Standard plasterboard has strict weight limits for tiling (typically 32kg/m² including the weight of the tile, adhesive, and grout). If you choose heavy Types of Tiles , such as thick natural stone or large format porcelain, the wall must be prepared with stronger materials, like cement-based fibre-cement boards.
- Plaster Condition: Fresh plaster is highly absorbent. If tiled without professional priming, the plaster will pull the moisture out of the adhesive, leading to the delamination described above. The correct professional primer must be used to seal the plaster and regulate its porosity.
4. Tiling Over Existing Tiles: When is it Safe?
While generally discouraged, sometimes tiling over existing tiles is possible, but it requires rigorous preparation and assessment:
- Adhesion Test: Every existing tile must be checked for firmness. Any loose or drumming tiles must be removed, and the voids filled and levelled.
- Keying/Scarifying: The glazed, non-porous surface of existing tiles provides a poor key for new adhesive. The surface must be mechanically roughened or chemically keyed with a specialist high-performance primer to ensure a strong, long-lasting bond. Without this step, the tiles will simply peel off.
Professional Toolkit: Preparation Materials That Make the Difference
The quality of the materials used in the preparation phase directly impacts the final result. Professionals invest in specialist materials and tools that a standard home improvement store simply doesn't stock.
1. Self-Levelling Compounds (SLCCs)
For a truly flat floor—the prerequisite for large format tiles and professional Commercial Tiling —we utilise specialist Self-Levelling and Smoothing Compounds (SLCCs).
These aren't just cement mixes; they are high-performance polymer-modified compounds designed to flow out and create a liquid-smooth finish. Crucially, they must be mixed precisely, applied quickly, and, in some cases, spiked with a roller to release air bubbles. Our experience ensures the correct product is used (e.g., fast-setting versus standard, highly flexible versus rigid) for the specific subfloor material.
2. Decoupling Membranes and Anti-Fracture Matting
These are specialist synthetic sheets laid between the subfloor and the tile. Their sole purpose is to absorb and neutralise lateral or shear stress—the kind of sideways movement that inevitably causes rigid tiles to crack. This is essential for:
- Old timber floors with minor inherent movement.
- Floors spanning two different substrates (e.g., concrete transitioning to timber).
- Protecting expansive, beautiful tiles from the constant, subtle movement of the structure.
3. Waterproof Tanking Systems
The liquid-applied tanking systems we use are specifically formulated to create a seamless, flexible, and completely water-impermeable barrier in showers and wet rooms. This process involves:
- Applying primer.
- Embedding special waterproof jointing tape into all internal corners and junctions (where the wall meets the floor and where two walls meet).
- Applying the liquid membrane in two coats across the entire floor and the relevant wall areas.
This guarantees a fully sealed box before the tiles are even introduced, offering peace of mind that a simple layer of adhesive and grout can never achieve.
Surface Preparation is an Investment, Not an Expense
In the realm of tiling, the preparation phase is the unseen guardian of your investment. Cutting corners here will always result in higher costs down the road—the cost of replacement materials, the cost of demolition (which can damage the underlying structure), and the cost of time and frustration.
When you hire Derbyshire Tiling Specialists, you are investing in our years of experience in diagnosing substrate issues, our technical knowledge of specialist materials, and our unwavering commitment to using the correct processes. We pride ourselves on the longevity and flawless finish of our work in kitchens, bathrooms, and commercial spaces across Derbyshire.
Do not gamble the success of your project on an unstable foundation. Choose quality, choose expertise, and choose a finish that is designed to last a lifetime.
Ready to start your project with the perfect foundation? Contact Derbyshire Tiling Specialists today for a free, no-obligation assessment of your tiling requirements.

The body content of your post goes here. To edit this text, click on it and delete this default text and start typing your own or paste your own from a different source.