Step-by-Step: Our Kitchen Tiling Process in Derby
When renovating a kitchen, tiling is one of the most rewarding investments you can make. It adds elegance, protects surfaces, and increases your property’s long-term value. But for many Derby homeowners, the process can feel overwhelming. How long does it take? What’s involved? How do professionals ensure a flawless finish?
The good news is that with professional kitchen tiling services in Derby, the process is clear, structured, and stress-free. In this article, we’ll walk you through the tile installation process in Derby, from planning and preparation to the final polish. Whether you’re interested in a new splashback or a full kitchen transformation, this guide will help you understand exactly what to expect.
Why Trust Professionals for Kitchen Tiling?
Before we dive into the step-by-step process, it’s worth highlighting why hiring professional kitchen tilers makes all the difference:
- Precision: Achieving perfectly aligned tiles requires experience and specialist tools.
- Durability: Professionals use high-quality adhesives, grouts, and sealants to ensure long-lasting results.
- Efficiency: What might take a DIY enthusiast weeks can be completed in just a few days.
- Design Guidance: Tilers can recommend layouts, patterns, and finishes that maximise your kitchen’s style.
Step 1: Initial Consultation & Design Planning
Every successful project begins with a clear vision. During the first stage, professional tilers will:
- Discuss your goals: Do you want a bold feature wall, a subtle splashback, or a full kitchen transformation?
- Assess your space: Measure walls, splashback areas, and flooring to calculate the materials required.
- Help with tile selection: Whether you’re considering ceramic, porcelain, or natural stone, experts guide you on the best choice for style, durability, and budget.
- Confirm layout: Straight, diagonal, herringbone, or mosaic—your chosen pattern impacts both cost and appearance.
This stage ensures your project has a strong foundation.
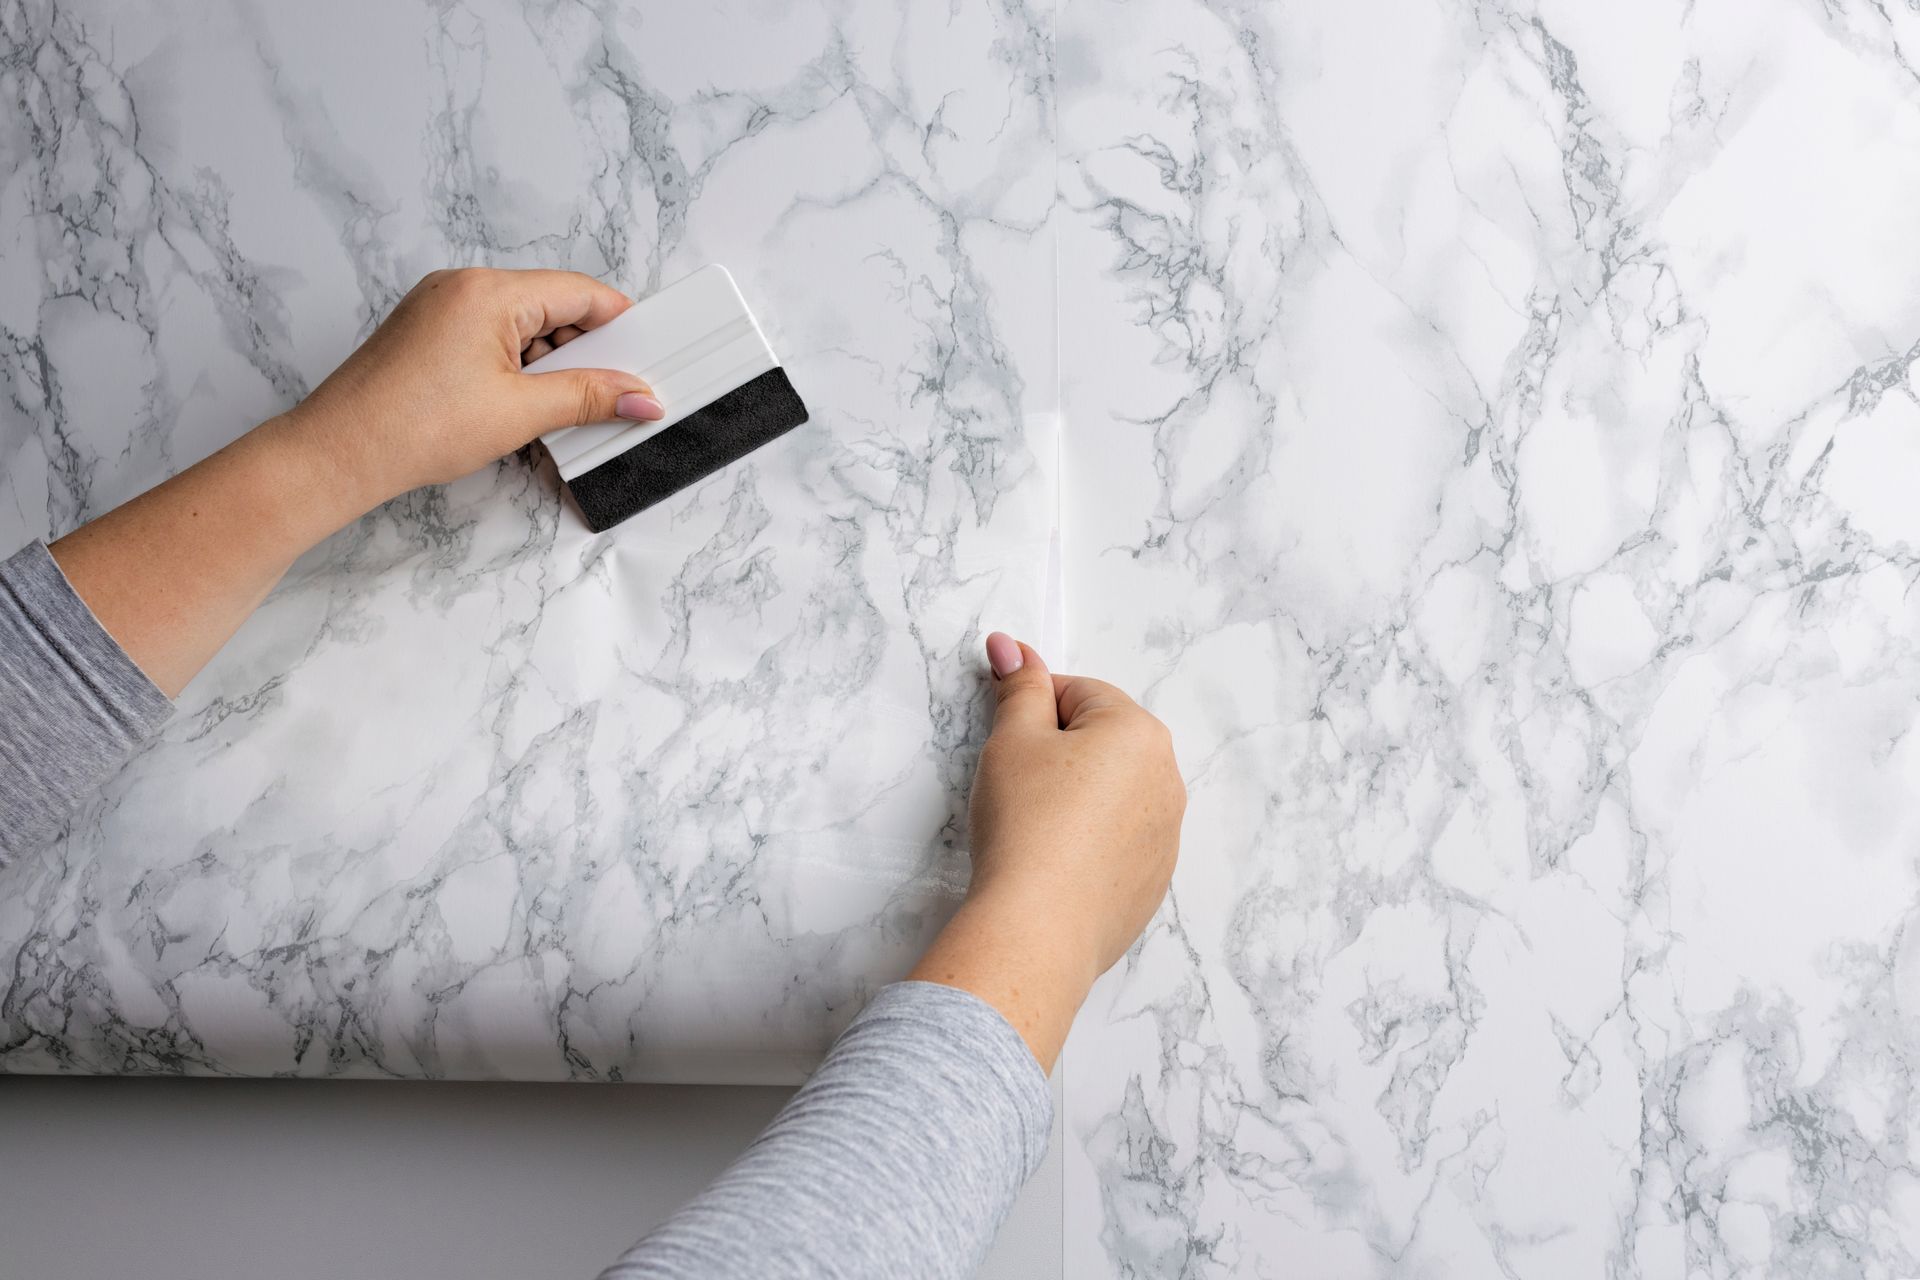
Step 2: Preparing the Kitchen Space
Preparation is critical. Skipping it can lead to uneven tiles, cracks, or water damage later. The preparation process includes:
- Clearing the area: Removing old tiles, paint, or wallpaper from the surfaces.
- Surface repairs: Fixing cracks, levelling uneven walls/floors, and ensuring the surface is clean and dust-free.
- Waterproofing: For splashbacks and areas around sinks, professionals apply membranes or waterproof backboards.
- Marking layouts: Using chalk lines or laser levels, tilers map out where each tile will go, ensuring balance and symmetry.
A well-prepared surface makes the rest of the job seamless.
Step 3: Tile Cutting & Dry Laying
Before adhesive is applied, professional kitchen tilers often “dry lay” tiles—placing them without adhesive to confirm alignment and pattern flow. During this stage:
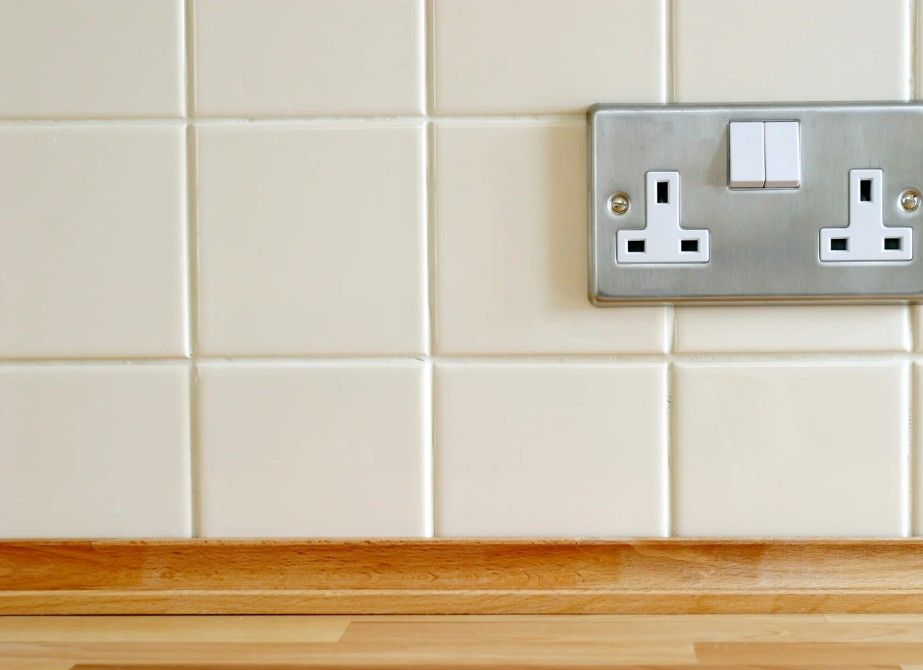
- Tiles are cut to size for corners, sockets, or awkward areas.
- Patterns are checked to ensure visual consistency.
- Final adjustments are made before permanent installation begins.
This step helps avoid surprises once tiles are fixed in place.
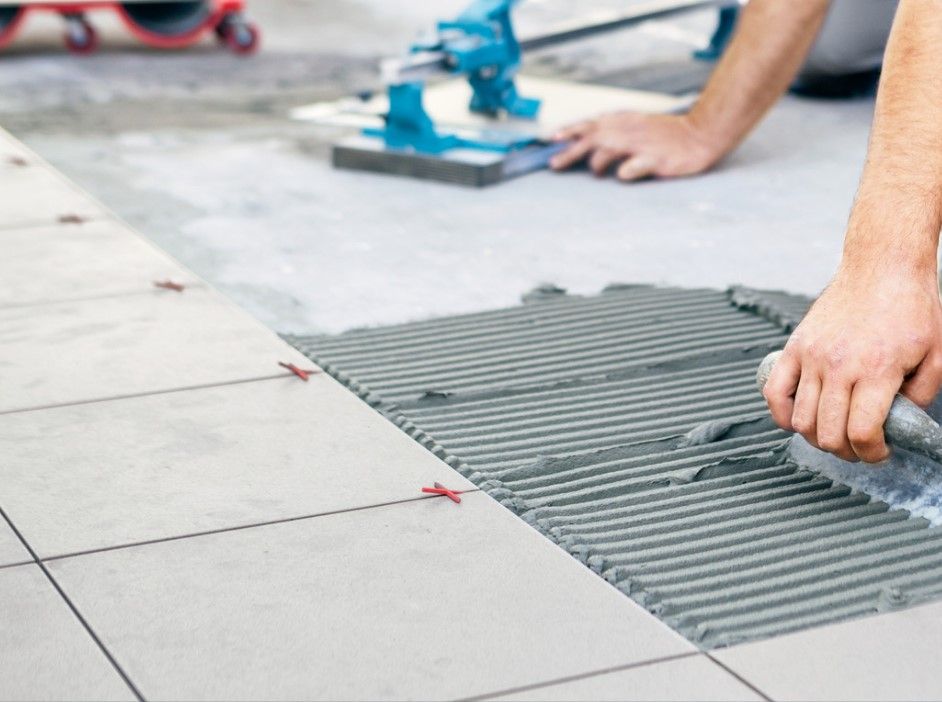
Step 4: Applying Adhesive & Setting Tiles
This is where the transformation begins. Using the right adhesive (cement-based, ready-mix, or specialist depending on tile type), tilers:
- Spread adhesive evenly with a notched trowel.
- Place tiles carefully, ensuring even spacing with tile spacers.
- Continuously check alignment with levels.
- Make precision cuts for edges, sockets, and corners.
For splashback tiling behind sinks or cookers, extra care is taken to ensure tiles are heat- and moisture-resistant. This is why hiring experienced tilers matters—they know which adhesives work best for each situation.
Step 5: Grouting the Joints
Once the adhesive sets, tilers move on to grouting. Grout seals the gaps between tiles, protecting against water penetration and completing the design.
- Choice of colour: White grout gives a classic look, while darker tones add drama or hide stains.
- Application: Grout is pressed into the gaps using a rubber float, then excess is wiped away.
- Cleaning: Once dry, tiles are polished to remove haze and achieve a clean finish.
Grouting transforms a tiled surface from a work-in-progress into a professional finish.
Step 6: Sealing (If Required)
Not all tiles need sealing, but natural stone and porous materials benefit from it. A sealant protects tiles from stains, grease, and moisture—especially important in busy kitchens. Professional tilers know exactly which products to use and when sealing should be reapplied in future.
Step 7: Final Inspection & Finishing Touches
The final stage is a thorough check of the completed work:
- Alignment check: Ensuring tiles are straight, evenly spaced, and symmetrical.
- Cleaning: Surfaces are polished, and debris is removed.
- Customer walkthrough: The tiler explains maintenance tips and confirms you’re satisfied with the result.
At this point, your kitchen tiling project is complete, leaving you with a refreshed, stylish, and practical space.
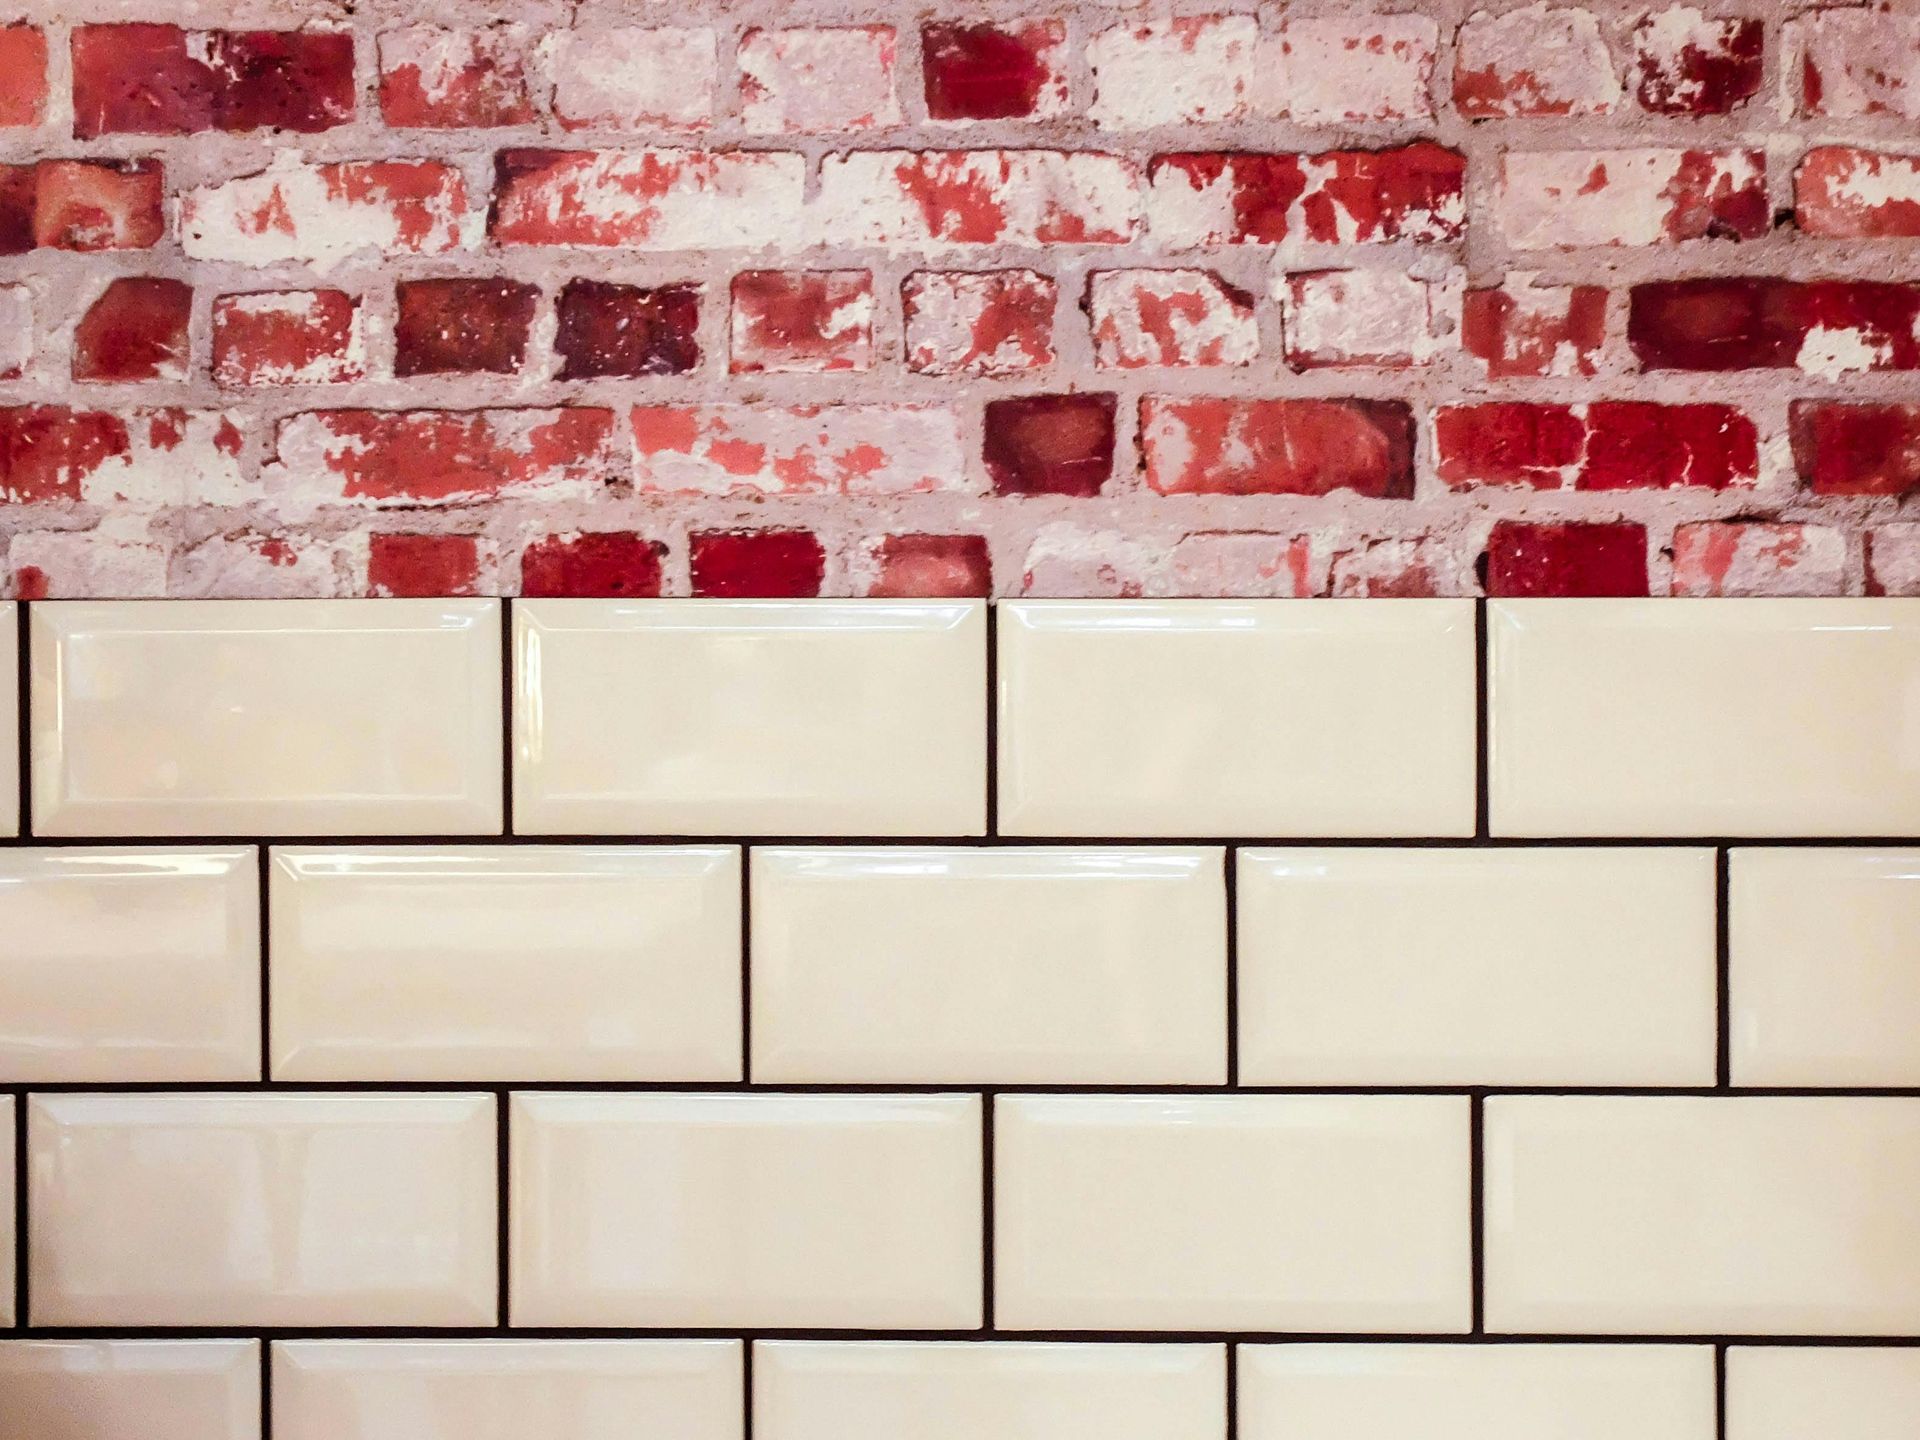
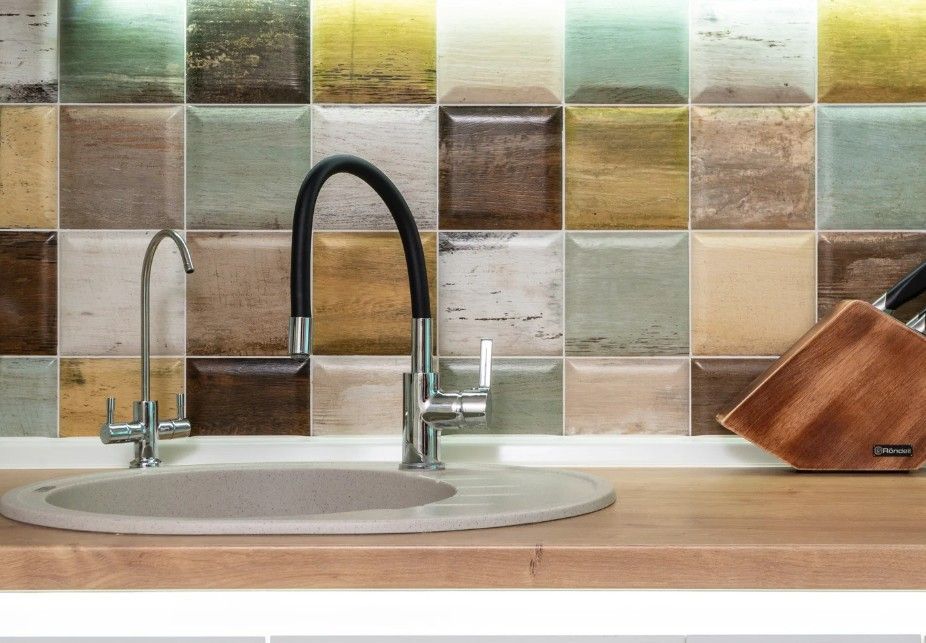
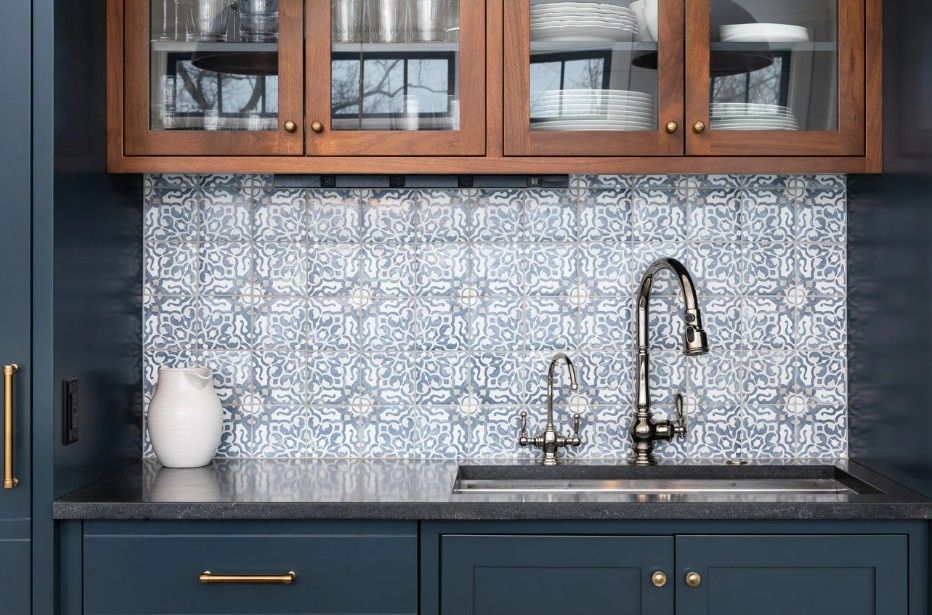
Splashback Tiling Explained
One of the most common kitchen tiling requests is splashbacks. They may look simple, but they’re one of the most impactful upgrades you can make.
- Function: Protects walls from water, grease, and stains.
- Design: Acts as a mini feature wall, often with decorative or mosaic tiles.
- Installation: Usually completed within 1–2 days, making it a quick yet transformative project.
Professional kitchen tiling services in Derby ensure splashbacks are cut precisely around sockets, edges, and corners, creating a flawless finish.
How Long Does Kitchen Tiling Take?
Timeframes vary depending on the project size:
- Splashback tiling: 1–2 days.
- Small kitchen floor (10–12 m²): 2–3 days.
- Large open-plan kitchen: 4–6 days.
Additional time may be needed for surface preparation or drying between stages.
Final Thoughts
Renovating your kitchen doesn’t need to be overwhelming. With professional kitchen tiling services in Derby, the tile installation process is structured, efficient, and designed to deliver flawless results.
From the first consultation to the final polish, expert tilers handle every detail—ensuring your kitchen is both beautiful and practical. Whether you’re looking to upgrade a splashback or reimagine your entire kitchen, working with professional kitchen tilers guarantees value, style, and durability.
👉 If you’re ready to transform your kitchen, start by contacting trusted Derby tiling specialists who can guide you through the process and bring your vision to life.