How to Repair Ceramic Tiles: An Expert Guide
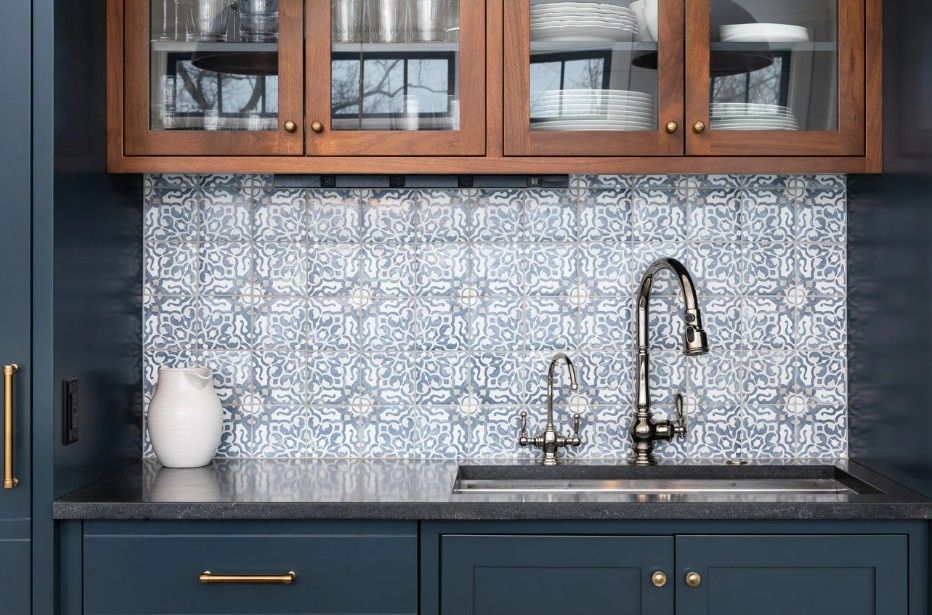
Let’s be totally honest with each other for a minute. You spent ages picking out those beautiful ceramic tiles—maybe they're that fancy marble-effect porcelain for your kitchen, or something tough for the hallway here in Derbyshire—and now? Now there's that line. That horrible, glaring, I-can’t-look-at-it-without-flinching line. It feels like the entire floor is ruined, doesn’t it? Like a total nightmare.
The thing is, we see this constantly. From little terraces in Derby to big detached houses near Chesterfield, people get stressed about these marks. But listen to your local tiling specialist here: nine times out of ten, the problem is far smaller than it looks. Ceramic is incredibly hard-wearing, but you do need to know the proper protocol. Because if you grab the wrong abrasive for the wrong kind of scratch, you’re just making more work for yourself later on. Trust me on this one.
So, forget the panic. We’re going to walk through the only way to approach this: diagnosis first, then the right ceramic tile repair method.
Your First Job? The Fingernail Test. It’s Everything.
Before you go near any sort of cleaning product, you must figure out what you’re dealing with. If your scratch feels one way, the fix is gentle polishing; if it feels another way, you need heavy filler. If you skip this simple test, you’re just gambling with your expensive tiles.
1. The Imposter: That Pesky Metal Scuff
You see this everywhere, and it always looks terrible. It's a fine, usually dark grey or black line. You panic, thinking your tile is deeply gouged, but when you run your fingernail over it—and this is the crucial part—it feels smooth. Zero groove.
Why? It’s metal residue, mate. Seriously. An aluminium ladder, a zipper on a boot, maybe someone dragged a metal kitchen stool. The metal is softer than the ceramic glaze, so the metal material transfers onto the tile's surface. It's sitting on top. It’s not actually damage to the ceramic. This is the easiest repair in the book.
2. The Superficial Pain: Glaze Abrasion
Okay, this one is a scratch, but it’s tiny. It’s that fine, whitish haze you only spot when the light hits the floor just right. You feel it with your nail, but only barely—it’s extremely shallow. You haven't gone through the whole colour layer, just the clear top coat.
This is usually caused by something sharp and small, like fine sand or grit—the kind that gets tracked in, you know, just daily life. The good news? Because it’s only surface-level damage, we can often polish this right out.
3. The Real Problem: The Deep Gouge
Now this is the one that causes the real trouble. You run your fingernail over it, and it catches. It stops you dead. That scratch is wide, it's prominent, and it’s a totally different colour—usually dull white—compared to your tile. Why? Because you’ve sliced right through the hard glaze and hit the porous, soft clay body underneath (what we call the bisque).
Look, this is structural damage. You can’t polish away exposed clay. It needs proper filling, proper sealing, or—and I’m not going to lie to you—you might be looking at a replacement, especially if it’s in a wet area.
Phase 1: Easy Wins—Don't Bother with the Hardware Store Yet!
If your damage falls into categories 1 or 2, you absolutely do not need to call us yet. We use these simple tricks every single day.
The Microfibre-and-Eraser Scuff Remover
For those metal scuffs (category 1), forget harsh chemicals. You need gentle abrasion.
- Clean First! Seriously, clean the mark with plain soapy water and wipe it dry. If there's any dust, you'll just create a real scratch while you're trying to remove the fake one.
- Grab an Eraser. A plain white vinyl pencil eraser (the soft ones, not the pink rubber block) works wonders. Dampen a melamine foam eraser—the "Magic Eraser" types—if you have one.
- Rub It Out. Just rub the scuff firmly. That fine abrasive quality lifts the soft metal residue right off the hard ceramic glaze. You wipe it clean, and boom—it's gone. It's shockingly easy.
Baking Soda: Your Secret Weapon for Superficial Scratches
For the light abrasion (category 2), you need a very fine, consistent polishing agent. And the best one? It’s in your kitchen cupboard.
- Make the Paste: Mix baking soda (bicarb) with just enough water to make a thick, gritty paste. Think about the consistency of a good, heavy toothpaste.
- Gentle Buffing: Put a little blob of the paste onto a clean, soft cloth—microfibre is perfect, by the way. Now, rub it into the scratch using small, gentle circular motions. Gently! We are just smoothing out those microscopic ridges on the clear coat.
- Rinse: Rinse the area clean and dry it off. If it doesn't disappear completely, sometimes one more careful application will do the trick.
Phase 2: When You Have to Get Your Hands Dirty (The Glaze is Compromised)
Okay, the light fixes didn't work. We're into medium-depth scratches now. This means we've got to either aggressively polish the surrounding area or physically fill the hairline void.
The Automotive Garage Trick: Car Polishing Compound
I know it sounds wild, but high-quality car scratch remover compounds are built to deal with clear coats—which is what your tile glaze is. They work by removing minute layers to blend the edges of the scratch.
- The How: Clean the scratch like a maniac. Apply a dab of the compound to a soft cloth, and use firm, controlled circular motions to buff the scratch.
- The Warning: If you’re tempted to use a power tool—like a drill attachment—stop. The heat and friction can ruin the glaze in seconds, leaving a huge, permanent dull spot. Stick to elbow grease and control.
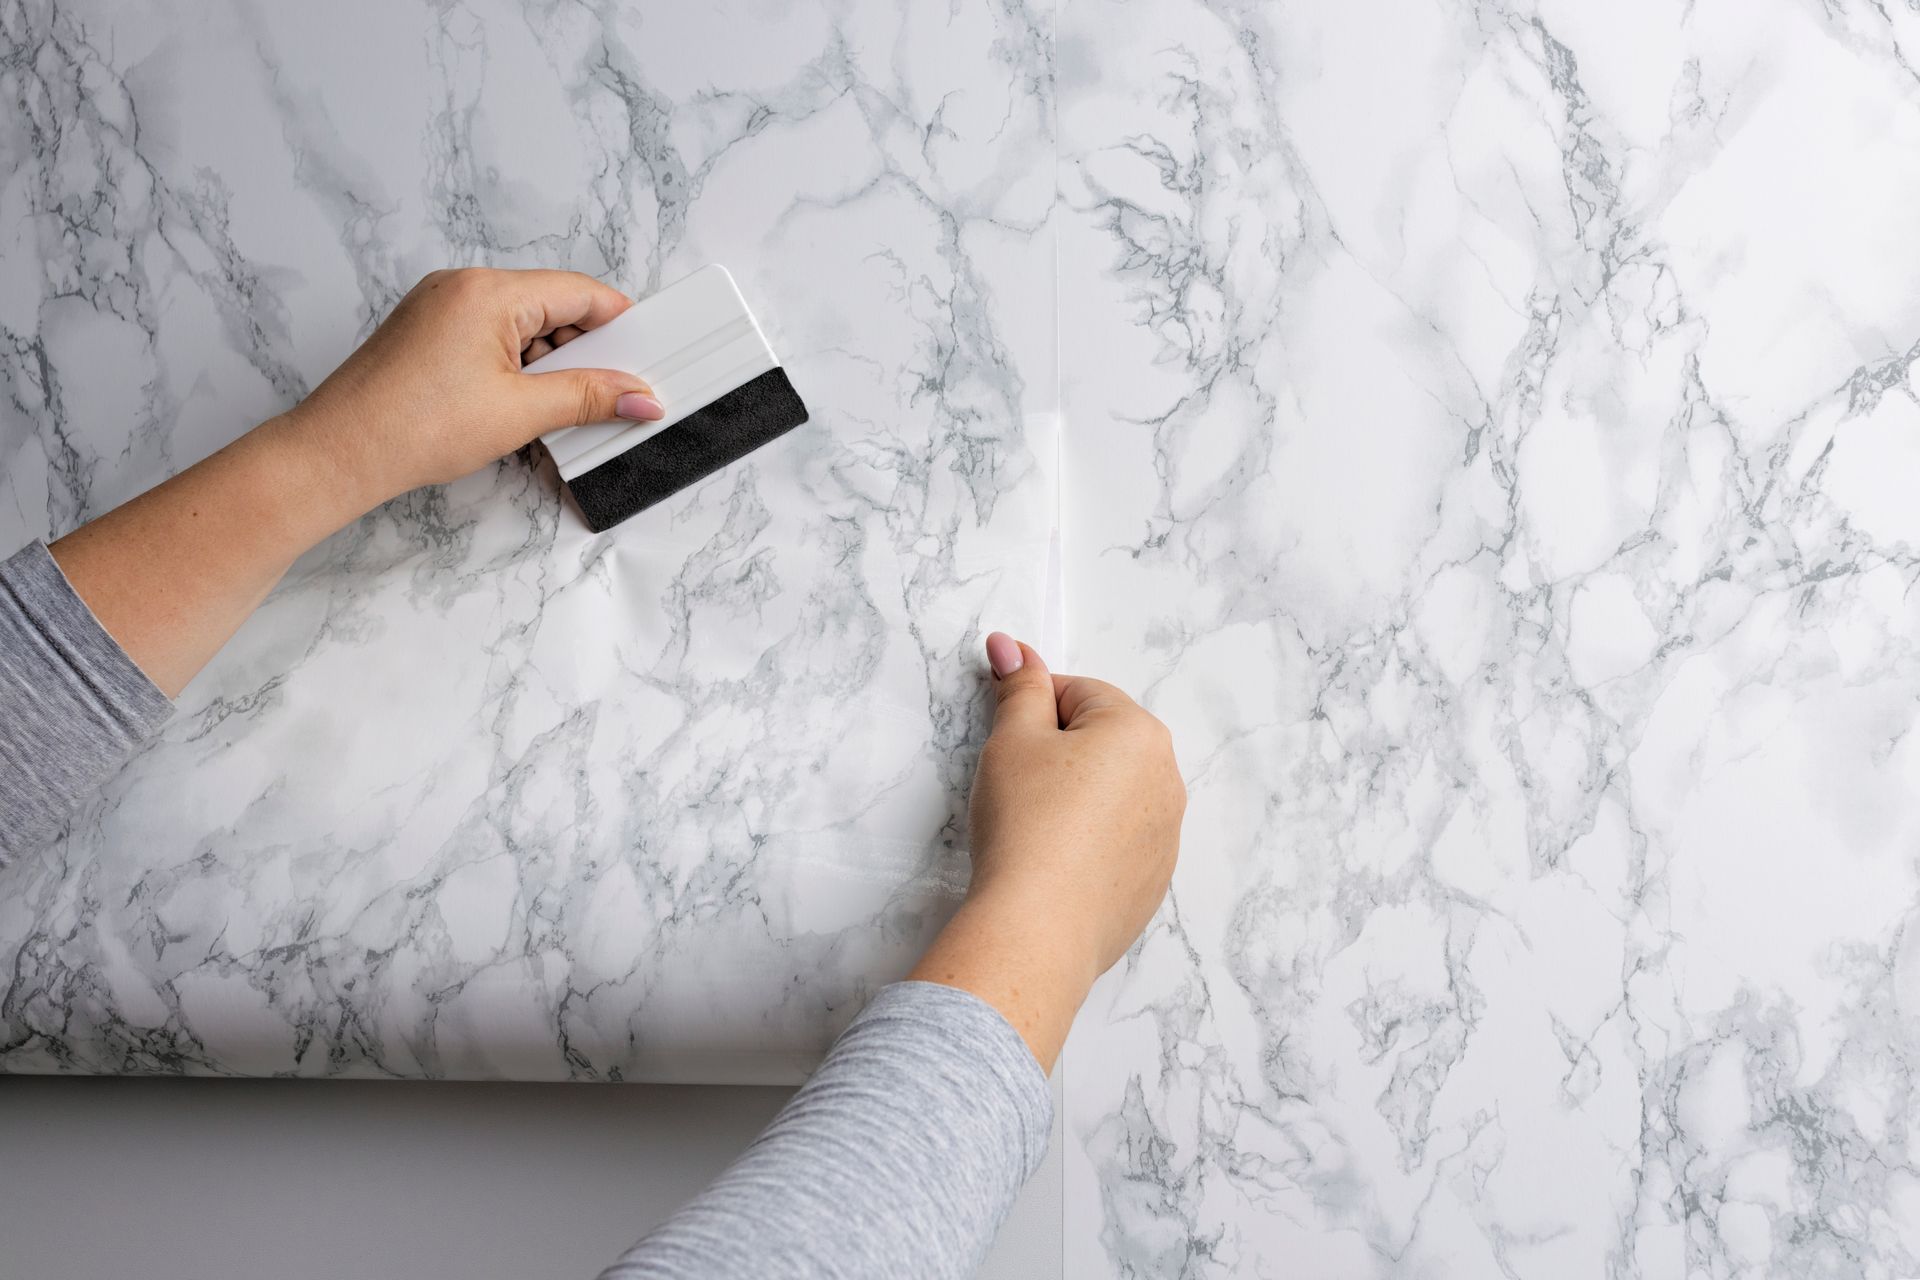
The Cosmetic Cover-Up: Clear Nail Polish
For a very thin, very prominent scratch that you just want to vanish visually, we sometimes use a clear filler.
- Match the Sheen: This is crucial. If your tile is matte, use matte clear polish. If it’s high-gloss, use high-gloss. A mismatch will look terrible.
- The Fill: Apply a tiny, tiny amount—using a toothpick if necessary—directly into the groove. Let it dry completely. The clear filler reflects light just like the glaze, making the scratch optically disappear. It's clever, but it’s purely cosmetic.
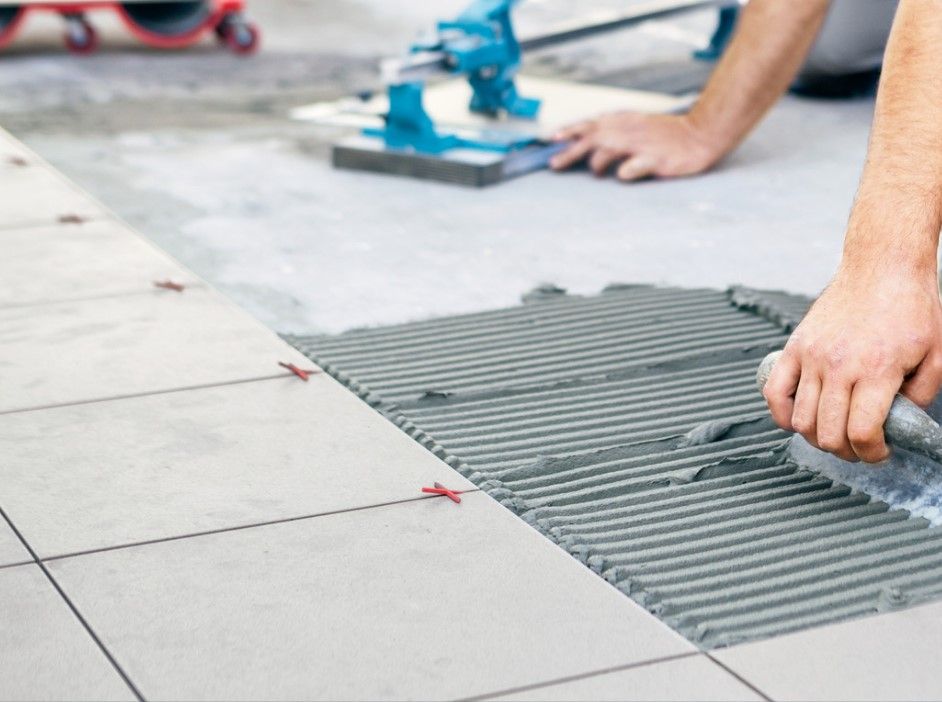
Phase 3: The Moment of Truth—Deep Gouges and Replacement
If your fingernail is still catching, you have a structural vulnerability. You've exposed the soft, porous bisque, and that means water and stains are now a threat. You need to seal that area immediately.
Why Epoxy Filler is the Only Patch
You have to use a proper, two-part ceramic tile repair kit. It’s the only thing tough enough to mimic a glaze.
- The Challenge is Colour: You have to mix the colour tints in with the resin and hardener to match your tile perfectly before it sets. This is where most DIY jobs fail, because a bad colour match draws more attention than the original scratch.
- The Finish: You fill the gouge, let it set up slightly, and then carefully scrape the excess perfectly level with the surrounding tile face. This is fiddly, highly technical work.
The Honest Conclusion: When We Insist on Replacement
Look, if the scratch is wide, runs a long distance, or, God forbid, is a genuine crack, patching it is just a temporary bandage.
As Derby tiling specialists, we’ll tell you straight: if the damage is structural, especially in a wet area like a shower, you need replacement. Patching a deep gouge with epoxy leaves a weak spot, and why compromise your entire floor for one tile? We can safely remove that damaged tile—without disturbing the rest of the installation—and set a new one seamlessly. Don't risk the integrity of your floor for the sake of one damaged piece.
If you’re unsure about that deep gouge, or if you know you need a professional, clean fix, we’re the ones to call for tiling repairs that genuinely last. We make it look like the scratch never happened. Check out our expert Tiling Repairs and replacement services.
Final Word: Don't Let it Happen Again!
Seriously, prevention is always cheaper.
- Pad Everything: Go put felt or rubber pads on every chair leg and piece of furniture on your tiles. Right now. That’s the easiest fix.
- The Dirt Trap: Get good, heavy entrance mats. They catch the sand and grit that cause 90% of the superficial ceramic tile scratches.
- Clean Smart: Use a soft brush head on your vacuum. Don't push sand across the floor with a mop—it’s like rubbing sandpaper on the glaze.
You’ve got a beautiful floor. Keep it that way. If you need any advice on your installation or repair, we're your local experts. Get in touch with your local Derbyshire Tiling Specialists today.