5 Common Feature Wall Tiling Mistakes and How to Avoid Them
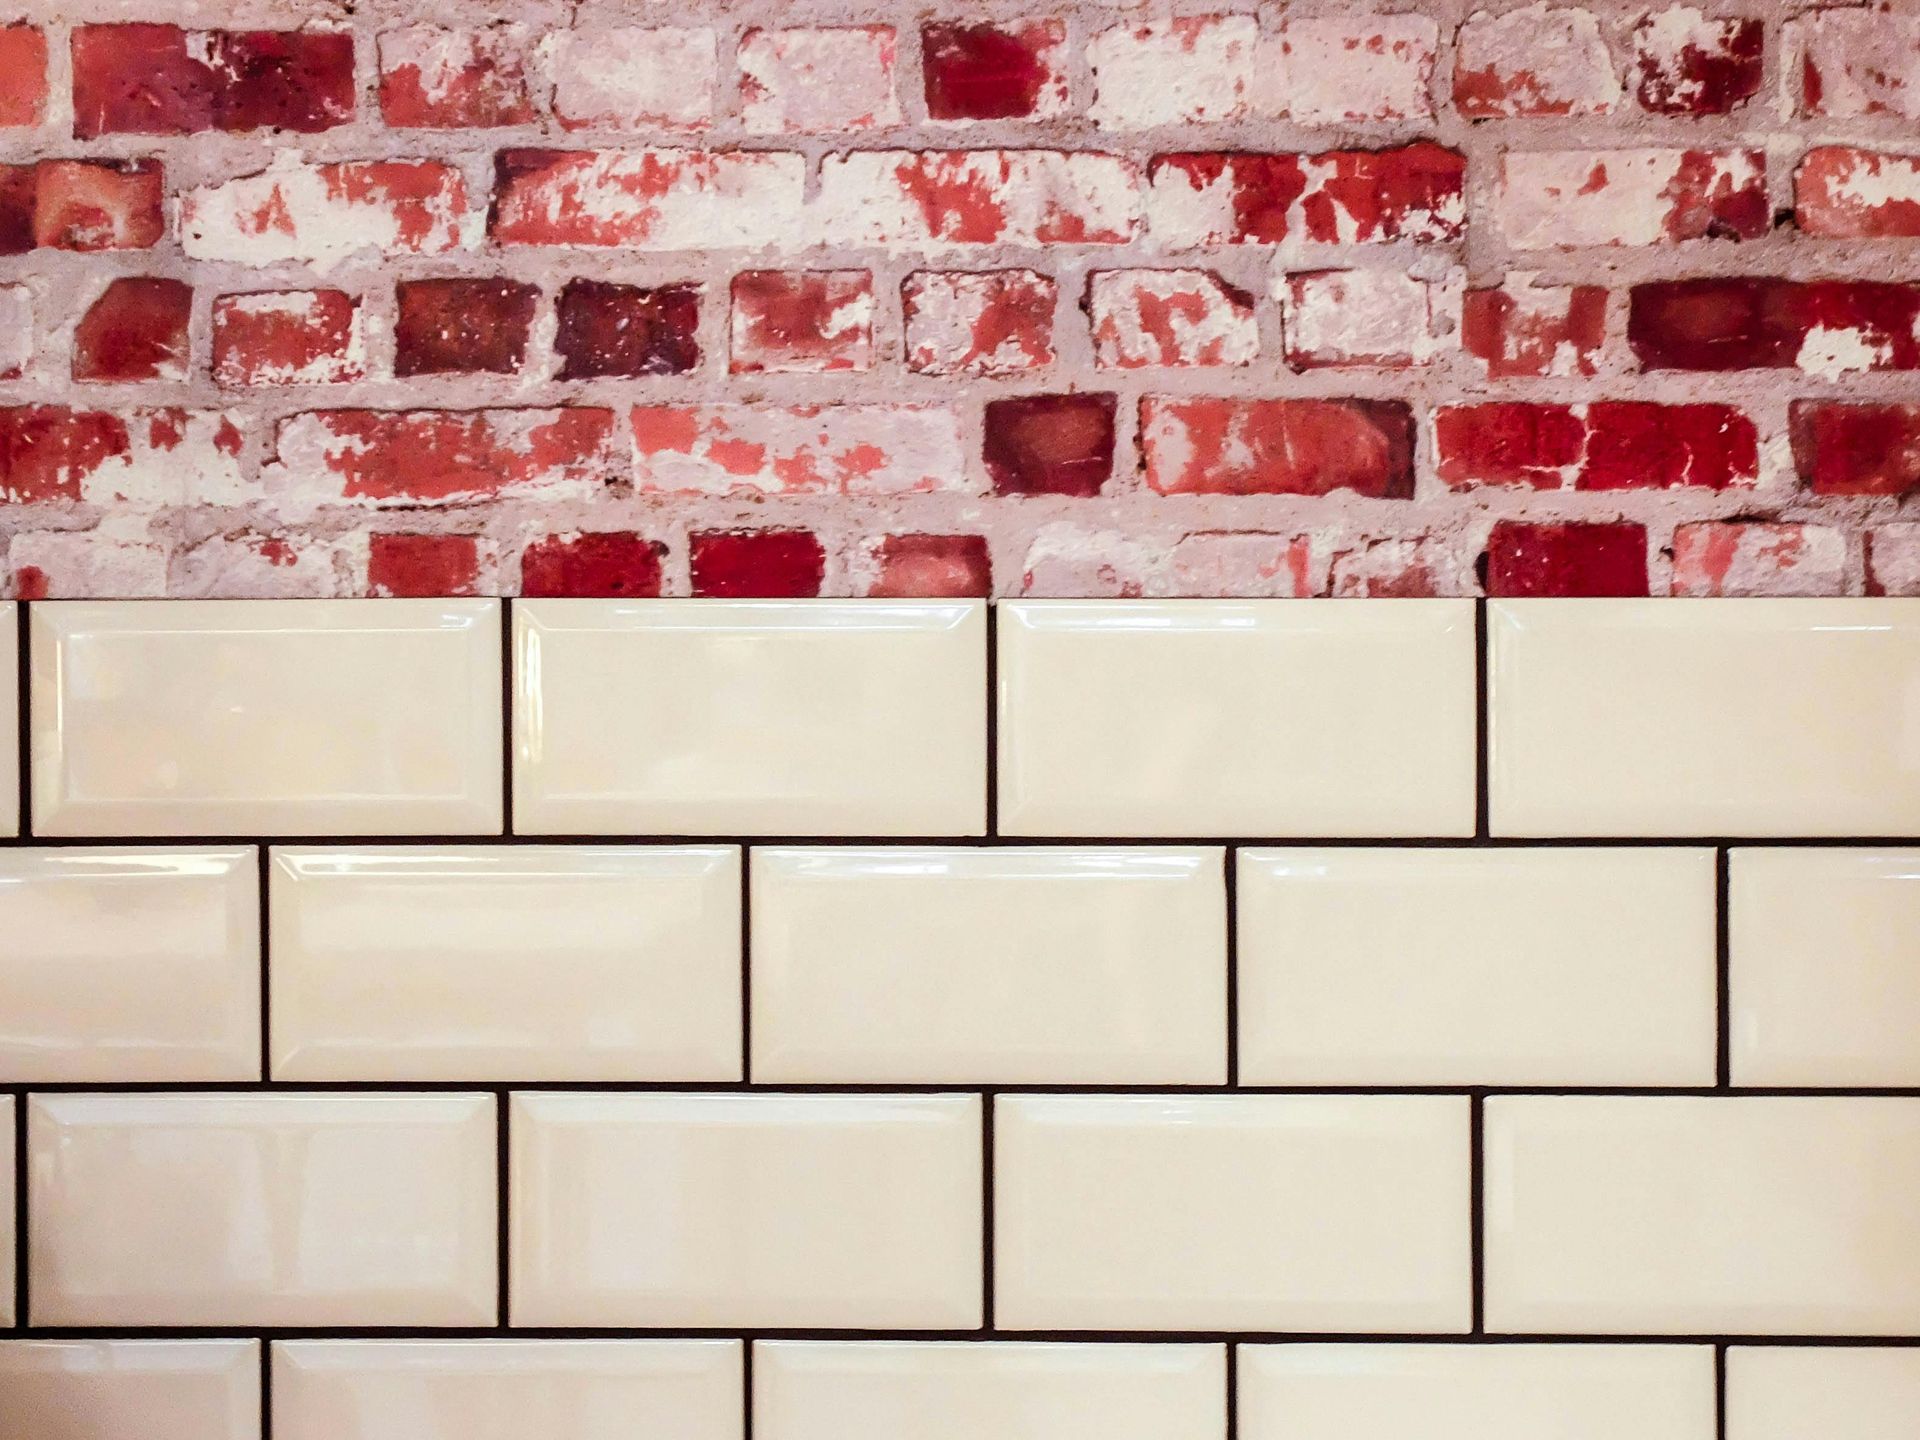
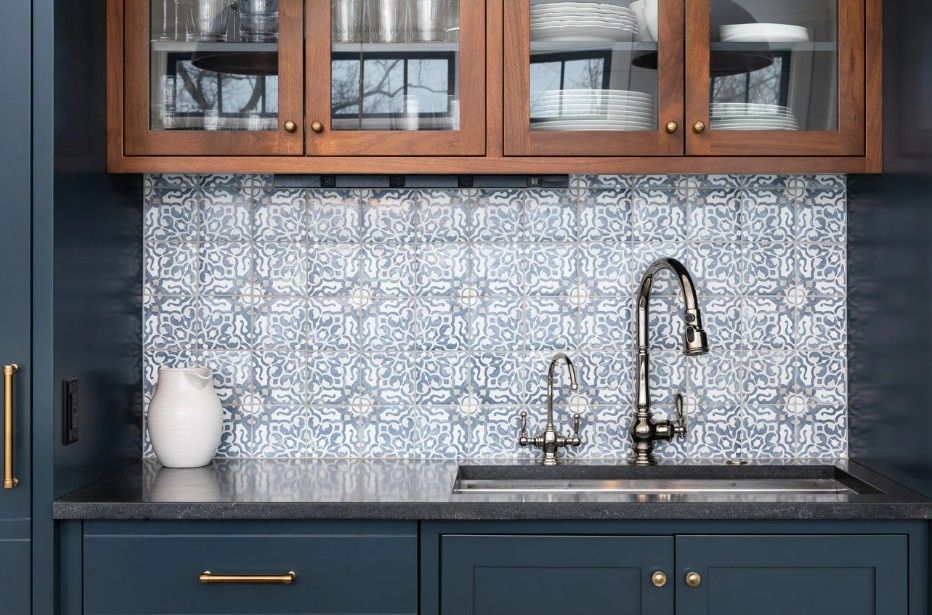
A feature wall, often referred to as a statement wall, is one of the most effective ways to introduce drama, texture, and sophisticated style into a home. Whether in a sleek modern kitchen, a luxurious bathroom, or a stunning living area, carefully chosen tiles can elevate an ordinary space into something truly extraordinary. In Derbyshire and across the Midlands, homeowners are increasingly turning to complex, large-format, or patterned tiles to create these focal points.
However, the ambition of a feature wall can sometimes lead to disastrous results if the installation process is not handled with precision and professional expertise. Unlike standard floor or wall tiling, a feature wall demands absolute perfection—because it is designed to be looked at. A single misaligned tile, a hollow sound, or a visible error is magnified.
This detailed guide, brought to you by Derbyshire tiling specialists, covers the five most common and costly mistakes made in feature wall installations. More importantly, we provide the tried-and-tested, expert solutions to ensure your next project is a masterpiece of craftsmanship, standing the test of time and attention. By understanding these professional secrets, you can ensure your investment in premium materials is protected and your feature wall achieves the seamless, high-quality finish it deserves.
1. The Foundation Fiasco: Forgetting to Prepare the Wall
Look, if there’s one part of the job that people always try to rush or outright skip, it’s the prep. It’s dirty, it’s slow, and it doesn't look like progress. But trust us: this is where the entire job fails or succeeds.
The Mistake: Just Sticking the Tile onto Whatever is There
This is a rookie move. We've seen tiles slapped straight onto old wallpaper, loose paint, dusty plaster, or a wall that’s bowed out like a ship's sail. People figure the "super strength" adhesive will grab onto anything. It won't.
Why You’ll Regret Skipping Prep (The Cost of Rushing):
- Tiles Start Falling Off: Seriously. Any layer of dust, chalkiness, or flaky paint acts as a bond-breaker. The adhesive sticks to the loose layer, not the wall, and eventually, the tile will just peel off. This happens way more often than you think.
- The Wavy Wall Effect: Feature walls—especially those with a high-gloss finish—need to be perfectly flat. If your wall is bumpy, those bumps will be magnified by the sleek tiles and the light from your downlighters. It ruins the whole sophisticated look.
- Adhesive Failure: If the wall is highly porous (like bare plaster), it will suck the moisture right out of the tile adhesive before it has a chance to cure and form a proper chemical bond. Hello, weak tiles!
How We Nail It (The Professional Method):
- Clean to the Bone: You need a clean, dry, and stable surface. That often means stripping, sanding, and wiping down everything until there’s zero dust or residue.
- True Leveling: If your wall is uneven—and in older Midlands homes, they often are—you can’t fix it with the glue. The wall must be leveled first, usually with a skim coat or leveling compound, to bring it perfectly flat and plumb. No exceptions
- Prime, Always Prime: This is crucial. We apply the right primer for the substrate. This controls the wall’s suction, ensuring the adhesive cures slowly and fully, maximizing the strength of the bond. For feature walls in a wet zone, like a shower, you must also apply a professional tanking (waterproofing) solution first.
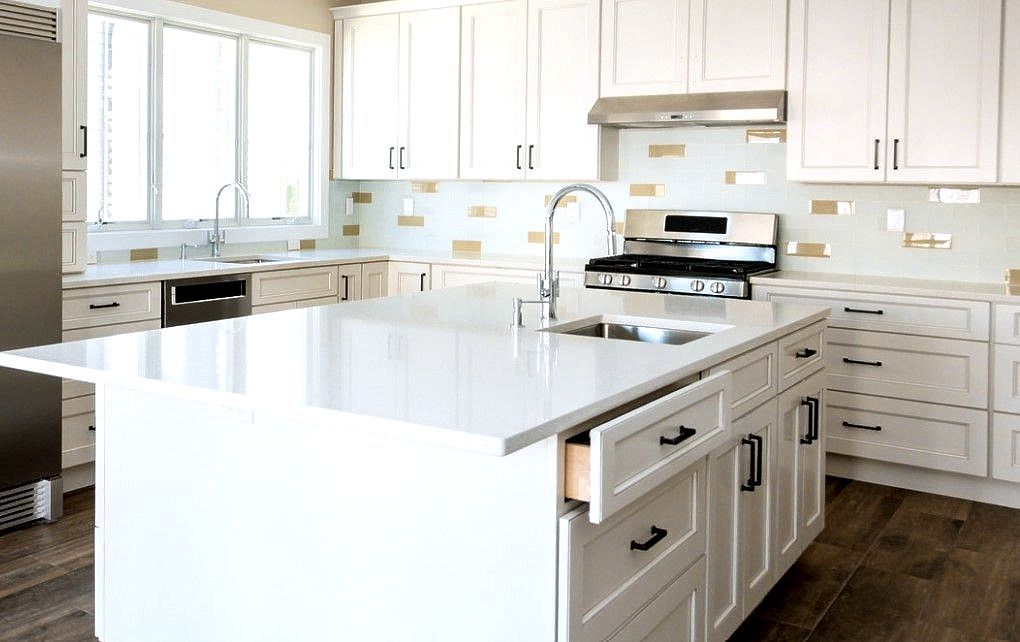
2. The Visual Vexation: Poor Layout and Unbalanced Cuts
You want your feature wall to look bespoke, like the tiles were made for that space. If you end up with awkward, tiny slithers of tile at the edges or in the corner, you’ve failed the visual test.
The Mistake: Starting Blindly in a Corner
The classic DIY move: find a corner and start laying tiles across until you hit the other side. This guarantees that any odd-sized cuts will be pushed to the end of the wall, making it look asymmetrical and unbalanced.
Why Symmetry Matters So Much (It's All in the Eye):
- Distracting Edge Cuts: A cut that’s too thin (say, less than an inch) looks messy, jagged, and unprofessional. Your eye immediately goes there, not to the beautiful pattern.
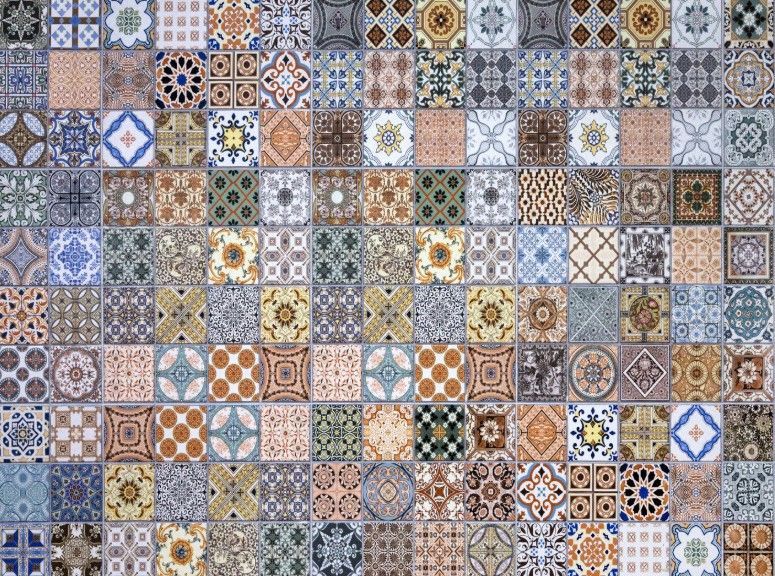
- Pattern Mismatch: If you have intricate patterns or mosaics, starting from the wrong place can break the flow, creating a jarring junction where the pattern suddenly shifts or ends awkwardly.
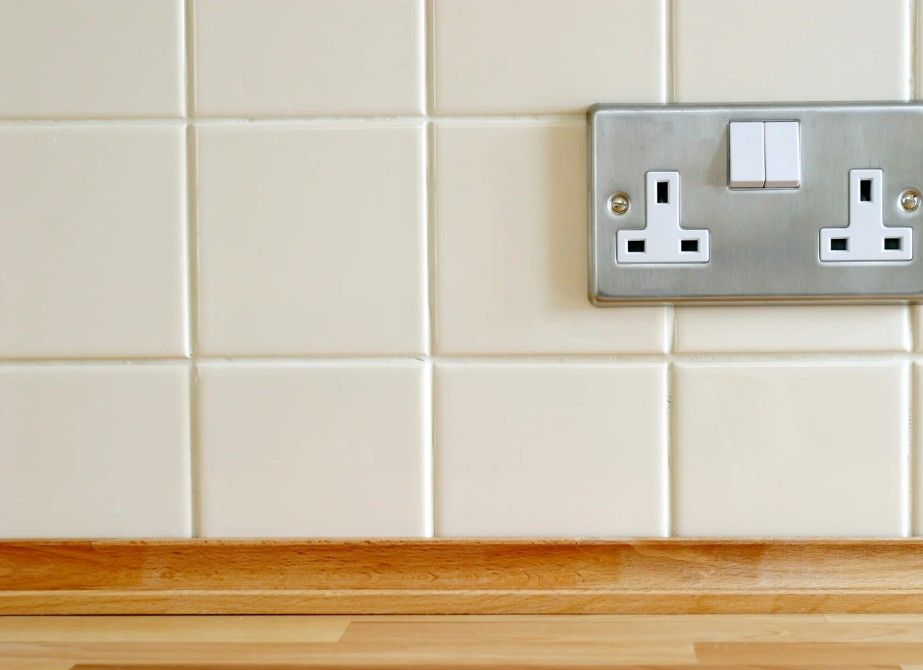
- The Misaligned Socket: Oh, the sheer disappointment of realizing you're going to have a tiny tile cut around a socket—that’s often a result of not planning the flow from the start.
How We Nail It (The Tiler’s Secret to Balance):
- Find the True Middle: We always start by determining the exact, dead centre of the wall. This is our reference point.
- The Measure and Balance: We measure the full width and then calculate how the tiles fall from that centre line to both edges.
- Adjusting for Aesthetics: The goal is to have the cut tiles at the left and right edges be the same size and substantial enough (never less than half a tile is our rule of thumb). If starting exactly centre leaves you with tiny cuts, we shift the whole layout half a tile width to one side. This makes the cuts on the edges identical and visually balanced—a huge professional differentiator.
- Use Fixed Lines: We use laser levels and perfectly plumb chalk lines to establish our vertical and horizontal guides. Every single tile aligns with these lines. This level of precision is exactly what defines high-quality feature wall tiling installation. Check out how precision enhances our projects: Feature Wall Tiling Service.
3. The Technical Tragedy: Incorrect Adhesive Application
Tiling is a craft, but it’s also an exact science involving chemistry and materials science. Using the wrong glue, or the wrong technique, is the second fastest route to tile failure after poor prep.
The Mistake: The Abominable ‘Dot and Dab’ Method
I need to be blunt: if you see someone putting five or six blobs (dots) of adhesive on the back of a tile and sticking it up (dabbing), stop them immediately. It’s fundamentally wrong.
Why Dot and Dab is Guaranteed to Fail:
- The Hollow Sound of Doom: Those blobs leave massive air gaps—hollow spots—beneath the tile. When you knock them, they sound hollow. That lack of support means the tile is highly prone to cracking if anything bumps it or if the house shifts.
- Moisture Traps: In wet areas, those hollow spots become reservoirs for water, leading to mould, mildew, and ultimately, the breakdown of the adhesive over time. It’s unhygienic and destructive.
- Wrong Adhesive Type: Are you using porcelain, stone, or ceramic? Is the tile large format and heavy? Using a cheap, rigid, quick-setting adhesive on heavy porcelain is begging for trouble. Porcelain is non-porous and needs a polymer-modified, flexible adhesive that works chemically, not just physically.
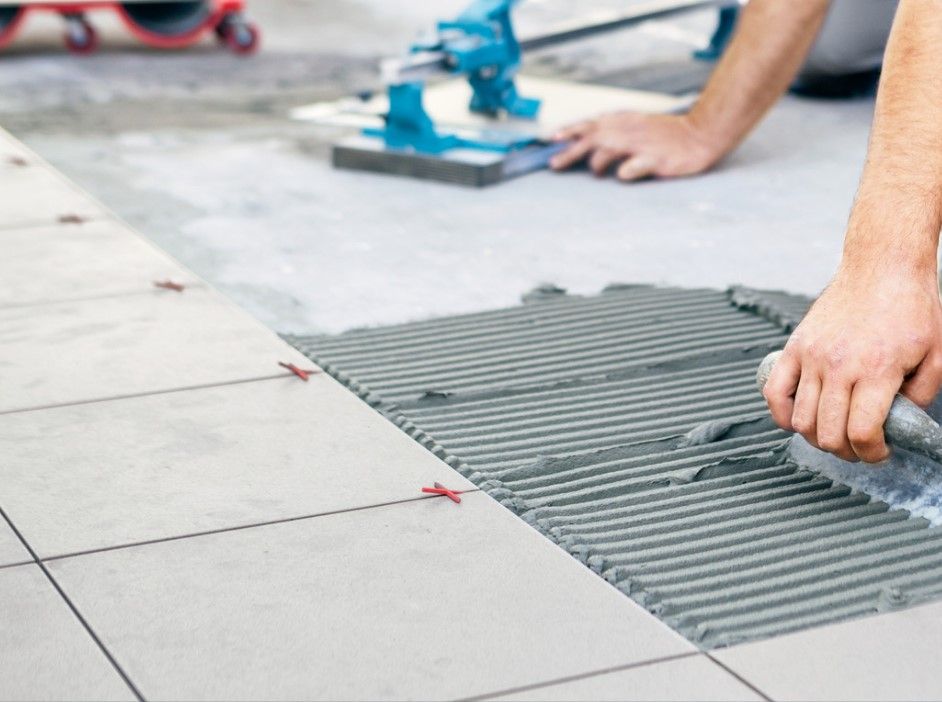
How We Nail It (The 100% Coverage Rule):
- Match the Glue to the Tile: We always select a flexible, high-performance adhesive (S1 or S2 rated) designed specifically for the weight and type of tile. This is non-negotiable for large-format tiles.
- The Correct Trowel: We match the size of the notched trowel to the size of the tile. Larger tiles need a deeper, wider notch (e.g., 10mm or 12mm) to ensure enough adhesive volume is transferred.
- Solid Bed is Law: We use the trowel to comb the adhesive onto the wall in uniform, parallel lines. Our standard is near 100% coverage—a full, solid bed of adhesive under the tile. This is the only way to guarantee structural integrity.
- Back Buttering: For LFTs (Large Format Tiles), we also apply a thin, flat layer of adhesive to the back of the tile before placing it into the combed adhesive on the wall. This is known as back buttering, and it ensures total contact, leaving absolutely no air gaps.
4. The Hidden Hazard: Forgetting About Movement Joints
Your home is a living structure. It expands when it's hot, contracts when it's cold, and flexes with the foundations. The tiling is rigid. When you put a rigid surface onto a moving structure, something has to give.
The Mistake: Tiling Tight into Corners and Edges
Many people simply tile right up to the next wall, the floor, the ceiling, or the window frame, filling the tiny gap left with hard, inflexible grout.
Why This Causes Ugly Cracks Down the Road:
- Pressure Cooker Effect: When the temperature changes, the large sheet of tiling expands. If it's restrained tightly on all four sides, the pressure builds until it finds the weakest spot—usually resulting in a crack running right through the middle of the tiled area or at the corner joints.
- Corner Chaos: Internal 90-degree corners are where two different walls (and potentially two different substrates) meet. They move independently. Filling this joint with rigid grout means it will crack, guaranteed.
How We Nail It (Managing Structural Stress):
- The Perimeter Safety Gap: We always leave a deliberate, small gap (usually 2-3mm) where the tiled surface meets the ceiling, floor, or any adjacent wall/fixture.
- Flexible Filling: That perimeter gap, and all internal corners, are never filled with cement-based grout. They must be filled with a high-quality, flexible, colour-matched silicone sealant. This sealant stretches and compresses with the building movement, absorbing the stress and preventing failure.
- Long Walls Need Breaks: For exceptionally long feature walls, we may have to incorporate specialist expansion strips into the main tiled field to break the area into smaller, safer sections.
5. The Finishing Fumble: Rushing the Grout and Seal
The final 10% of the job determines 100% of the visual quality. You've done the hard part, now don't get impatient and ruin the clean finish.
The Mistake: Grouting Too Early or Not Sealing Porous Tiles
This is usually a tired mistake. People rush to see the final result, grout before the adhesive is cured, or they fail to clean off the grout haze properly.
Why You End Up with a Messy Look:
- Discoloured Grout: Grouting too soon traps moisture from the adhesive beneath the grout. This leads to inconsistent, patchy colours in the grout lines that look awful and are impossible to fix.
- Permanent Haze: That fine cement residue left by the grout (grout haze) is stubborn. If you let it cure and dry fully on the tile face, it's incredibly difficult to remove without potentially damaging the actual grout joints. Your tiles will look dull and hazy, not sharp.
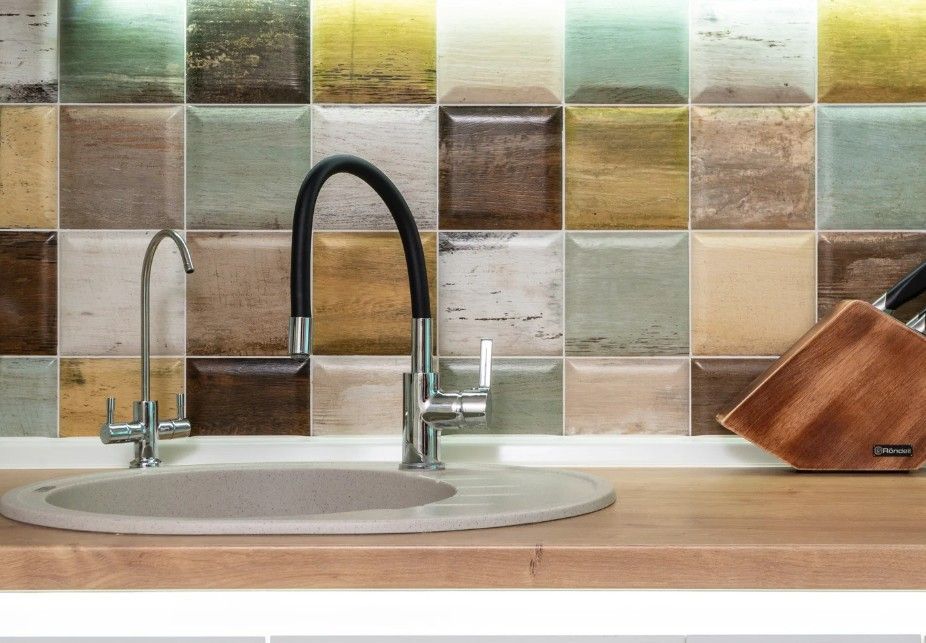
- Stained Stone: If you're using natural stone—a beautiful choice—and you skip the sealant, the pigment and water from the grout will instantly soak into the stone, permanently staining the edges. A costly blunder.
How We Nail It (The Impeccable Finish):
- Wait for the Cure: We follow the adhesive manufacturer’s instructions to the letter, waiting the full 24–72 hours before touching the wall with grout. Patience pays off.
- The Right Product: For a feature wall in a bathroom or kitchen, we often recommend a specialist epoxy grout. It is non-porous, 100% stain-proof, and far more durable than traditional cement grout—a true investment in longevity.
- Clean, Clean, Clean: We use a damp (not soaking wet) sponge, cleaning diagonally across the grout lines, and meticulously change the rinse water multiple times. The goal is a perfectly clean tile surface. We often return the next day to wipe away any residual 'haze' with a mild, professional cleaning product.
- Seal and Protect: For any natural stone, or even highly textured ceramics, a high-quality penetrating sealer is the final barrier. It protects the tile and the grout from stains and moisture, locking in the quality for years.
Secure Your Investment: Choose Your Local Derbyshire Experts
A feature wall is a highly visible, high-impact design choice. To protect your investment in premium materials and ensure the long-term structural integrity of your tiling, you need the experience and precise methods of a specialist.
When you look for professional tilers near you, you're looking for someone who understands not just the theory of these five mistakes, but who has the practical, local knowledge of substrates and conditions in Derby and Derbyshire.
We bring that deep technical knowledge and a guaranteed commitment to quality to every home. Don’t gamble on your dream wall—secure a flawless, stunning, and durable finish from the experts.
Click here to visit our homepage and discuss your feature wall project with our team today